Fascias & Soffits Guide
Take a look at our step-by-step installation process for Fascia, Soffit and Guttering work, complete with Eves Protector, Bird Comb and ventilation.
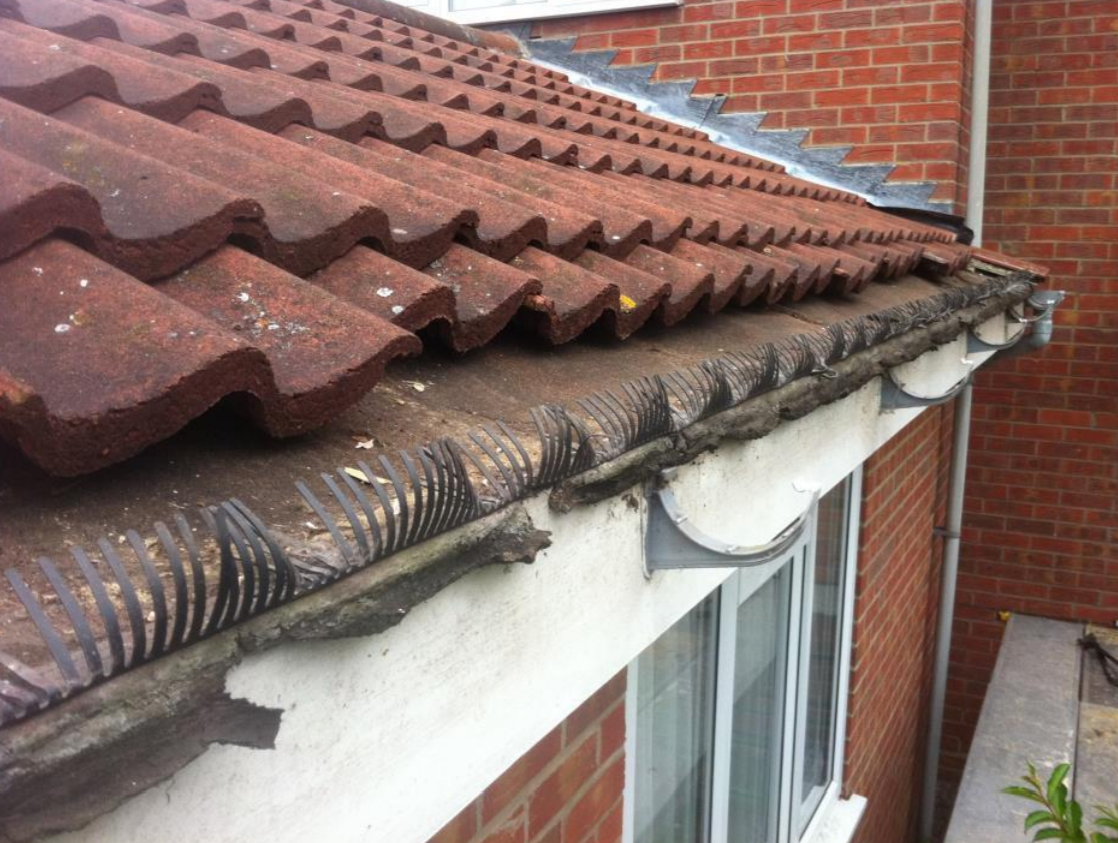
Step 1
First of all we remove the gutters and slide back the first row of roof tiles.
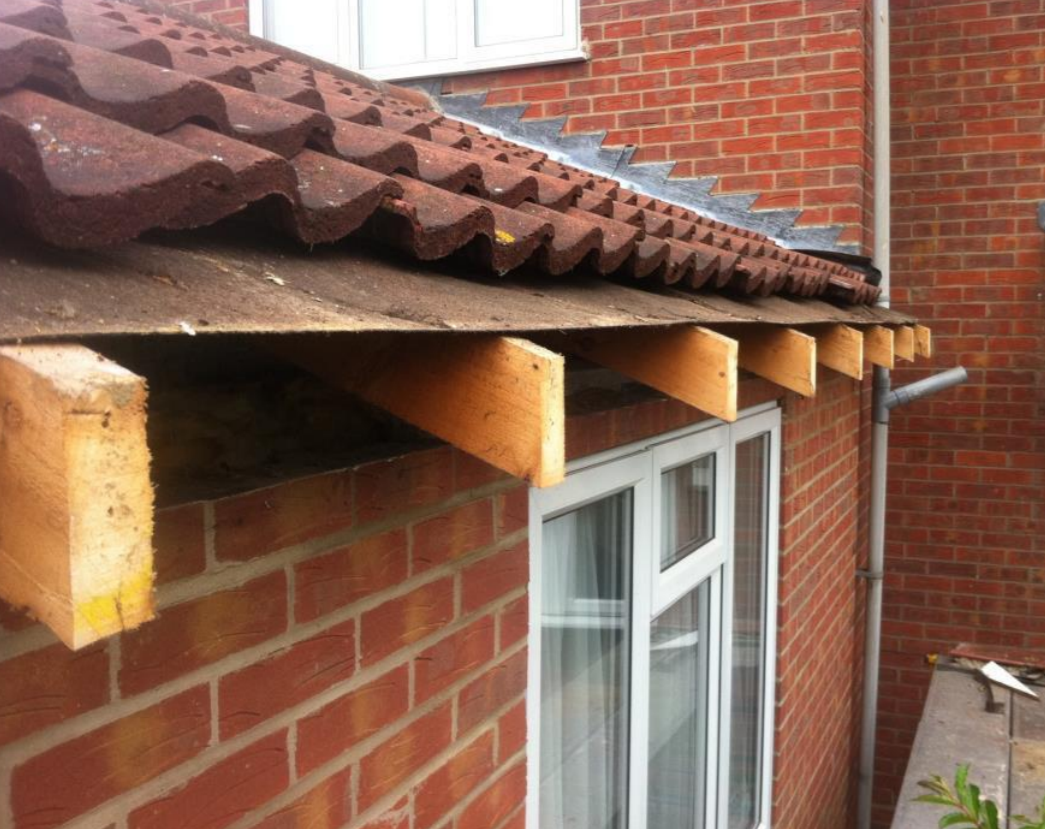
Step 2
We then completely remove the fascias and soffits and trim back any damaged felt.

Step 3
We check the condition of the rafter feet and repair as necessary. Once we are happy we fix the soffit board tight against the brickwork, this provides a clean finish and sturdy edge where the soffit meets the brickwork.
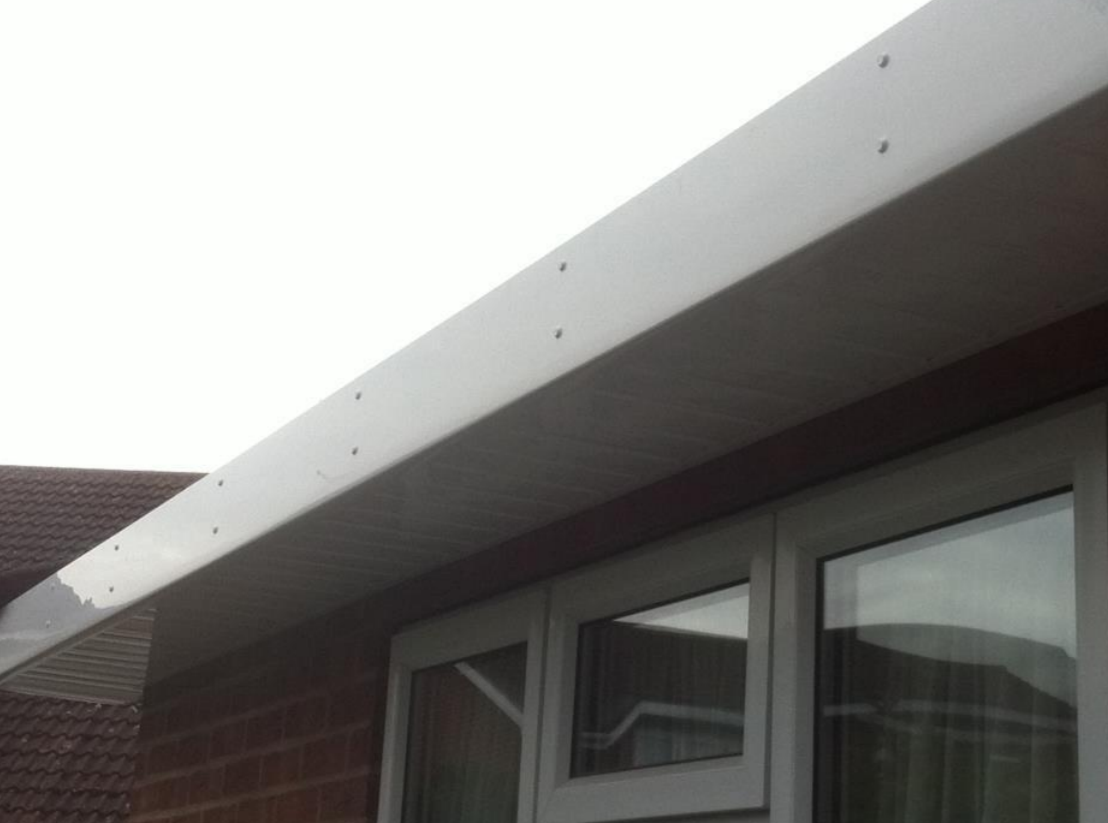
Step 4
After the soffits are fixed we can now put the fascia boards on. We fix the fascia boards using 65mm ring shank nails which are stainless steel to avoid any rust marks on your fascia boards in the months and years to come. We use a double fix in to every rafter to ensure the ultimate fix.
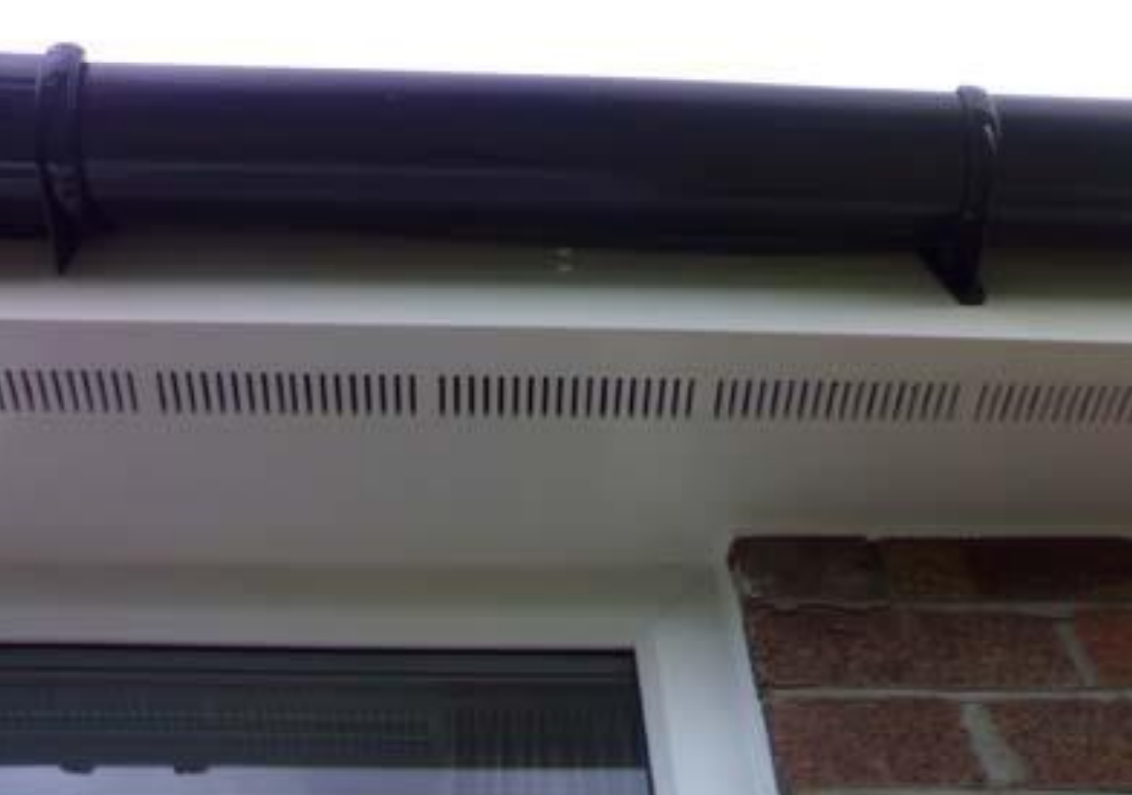
For Ventilation we use either a ventilated soffit board…
OR an ‘Over-Fascia’ vent that is cut in to the top of the fascia and sits underneath the Eves Protector

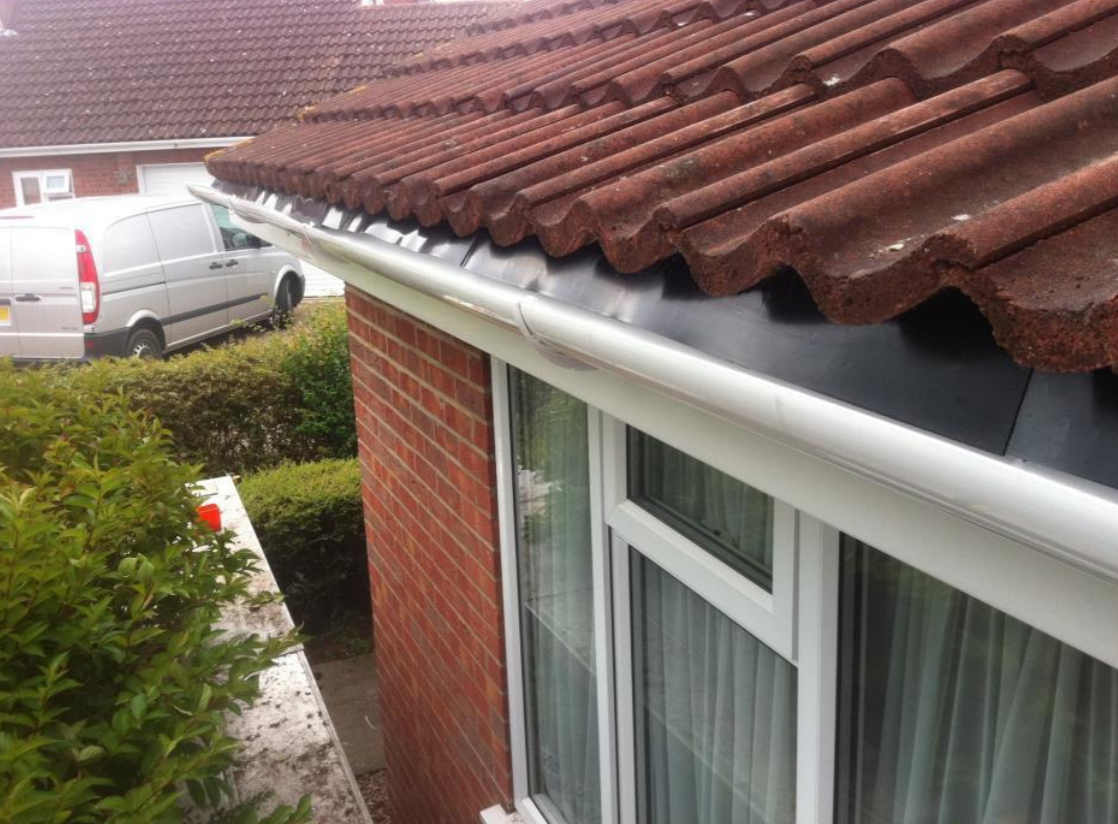
Step 5
Now that the fascia and soffits are complete, we can now install the rainwater system. There are a wide range of styles and colours available this is a prime example of the classic half round system. We fix the guttering with a slight fall to allow the water to drain away.

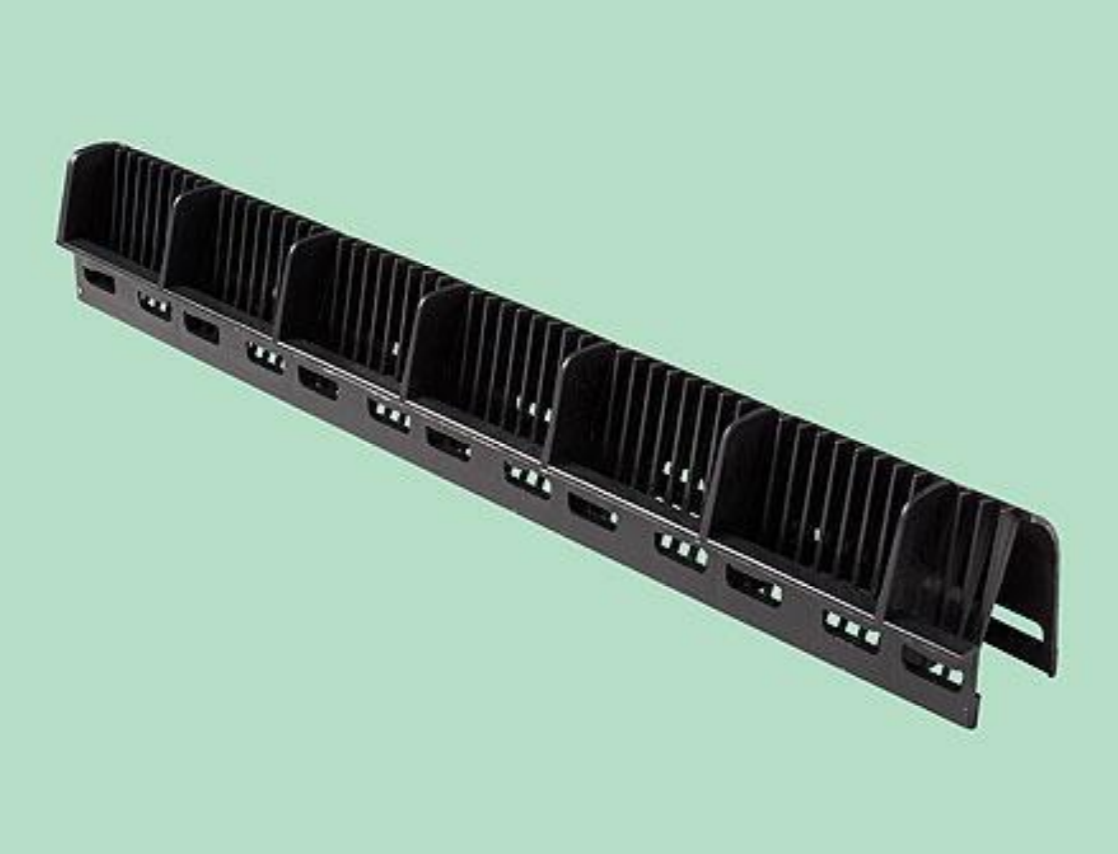
Step 6
After the rain water system is complete we install the Eaves Protector, this provides a permanent replacement for the old perished felt that we cut away in step 2. It will not deteriorate or perish unlike felt. It also allows the roof space to breath and has flexible combs (where specified) to act as a rodent guard to keep birds and other unwanted pests out.
Step 7
Now that the installation is complete we return the roof tiles to their normal position
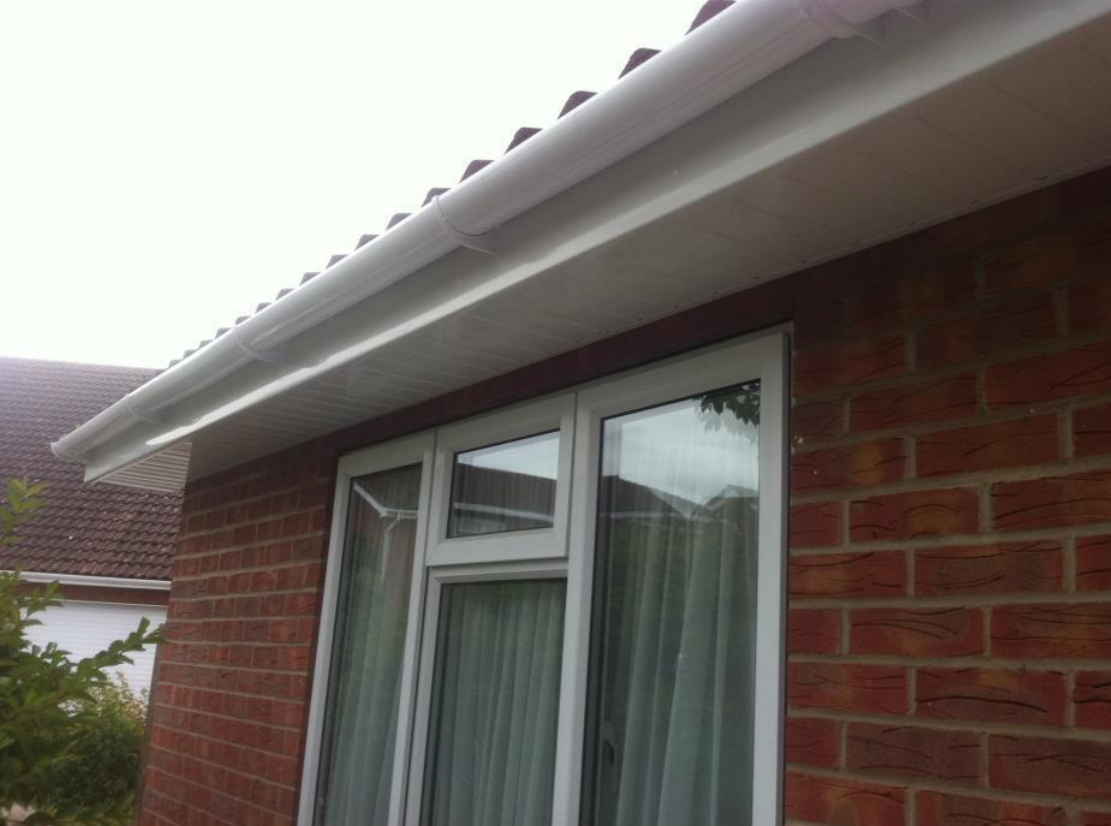
Step 8
We finish off with a complete clean to complement our first class installation. Not many companies will go this far to achieve the ultimate finish. A quality roofline system and we aim to beat any like-for-like written quotation.
Please Note: The above details outline our standard installation; certain aspects of the installation may vary depending on type of property or customer requirements.